Table of Contents
3HP Buzacott Restoration
21/05/2007
Removed the fuel tank. The metal is rather thin and there are some pinholes (and a couple of knitting needle holes!), so I'm going to save the filter/outlet and filler, and get a new tank made with these parts. Removed the auxiliary starting cup and breather body from the vaporizer body. The engine appears to have been run on petrol, as the auxiliary throttle valve is stuck solid and rusted.
24/05/2007
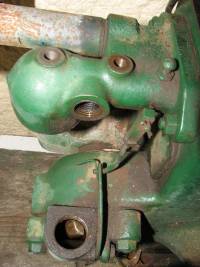 Unscrewed the rest of the fuel pipe. In the middle there's what looks like a joiner, but having read someone else's restoration notes, I believe it's a check valve with an easily-lost ballbearing inside, so I'll leave it in one piece until I'm ready to clean the gunk out of it. The auxiliary throttle valve was persuaded to unscrew, and it appears that water has entered through the uncovered auxiliary starting cup and rusted part way through the shaft of the auxiliary throttle valve needle. The needle end and seat are in perfect condition though, so a new one will be fabricated.
26/05/2007
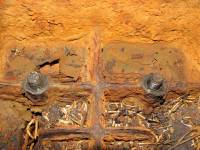 After several days of soaking in WD-40, I finally screwed up the courage to have a go at the head nuts with a cheater bar. With the engine held to stop it spinning on it's base(I knew there was a reason for Dad to visit!), the first nut went with a almighty crack. Oh no, there goes the stud. Looking inside with a torch, the head of the stud was still level with the top of the nut. Moving on to the others they each released, albeit reluctantly, with a grink. Unscrewed the rest of the way by hand, I soon had six nuts covered with gunk, which was a surprise. The first stud was seated deeper than the others and there was a small plug of gunk in the top of the nut which make it look like the stud was still locked in the nut. It must have been much tighter than the others, as the force required and eventual crack made it seem like a broken stud.
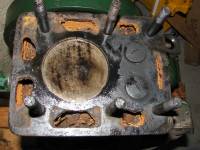 The tank came off with the assistance of the engine hoist, and the gasket stayed in one piece, too. The top of the piston had a bit of gunk on it, which wiped off, and other than a bit of carbon, the valves look fine, too.
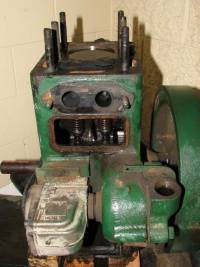 Next came the intake/exhaust assembly. This gasket is stuck to the block and appears to be asbestos, so I'll be taking it off with a scraper and disposing of it. Next, the tappet cover and sump cover were unbolted, releasing a flood of oil over the wooden support. Oops. Luckily, these engines don't hold a huge amount of oil and most of it was redirected into a container before it went too far.
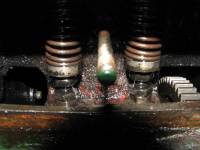 I could lift both valves with a screwdriver, and the big end and gears looked fine, so some persuasion was applied to the piston and a cheater bar used on the flywheel. Reluctantly, the engine started to turn. Well, until it neared BDC, when it turned really easily, and stuck again on the upstroke. Pushed past there, it freed up near TDC as well.
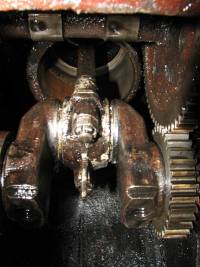 The first suspect was a bent connecting rod or gudgeon pin, with the fervent hope that it wasn't a bent crankshaft. Unbolting the big end and drawing the piston up the cylinder showed a smooth bore and piston, and a set of near-new rings with no evidence of damage or stress anywhere. The flywheel was turned, and it spins freely which clears the crankshaft, cams and valves, gearing and governor/magneto.
Unable to figure this one out, the piston was reintroduced to the cylinder without being connected to the crank and promptly jammed just below TDC. Aha! The cylinder is bell-mouthed and the rings oversized! No, the piston is an excellent fit at TDC and BDC. Google came to the rescue, and I found an thread at the TOMM Forums which has a couple of posts suggesting it could be the result of rust in the water jacket causing the cylinder to bulge inwards in the middle. I plan to take out the piston again and put a straight-edge on the the cylinder wall.
27/05/2007
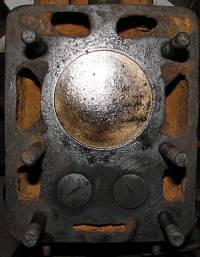 Not a lot done today, except for the removal of half a kilo of rust from the water jacket. I used a screwdriver to loosen the bits, and a scrap of 19mm pipe taped to the vacuum's nozzle to suck out as much as possible. The outlet pipe is plugged solid, but I'm going to leave it like that until I work out the best way to de-rust the jacket and true the cylinder bore. Right now, it looks like molasses is the best bet, followed by as much honing as is necessary.
Back to the 3HP Buzacott main page.

